Daisy Crochet Potholder

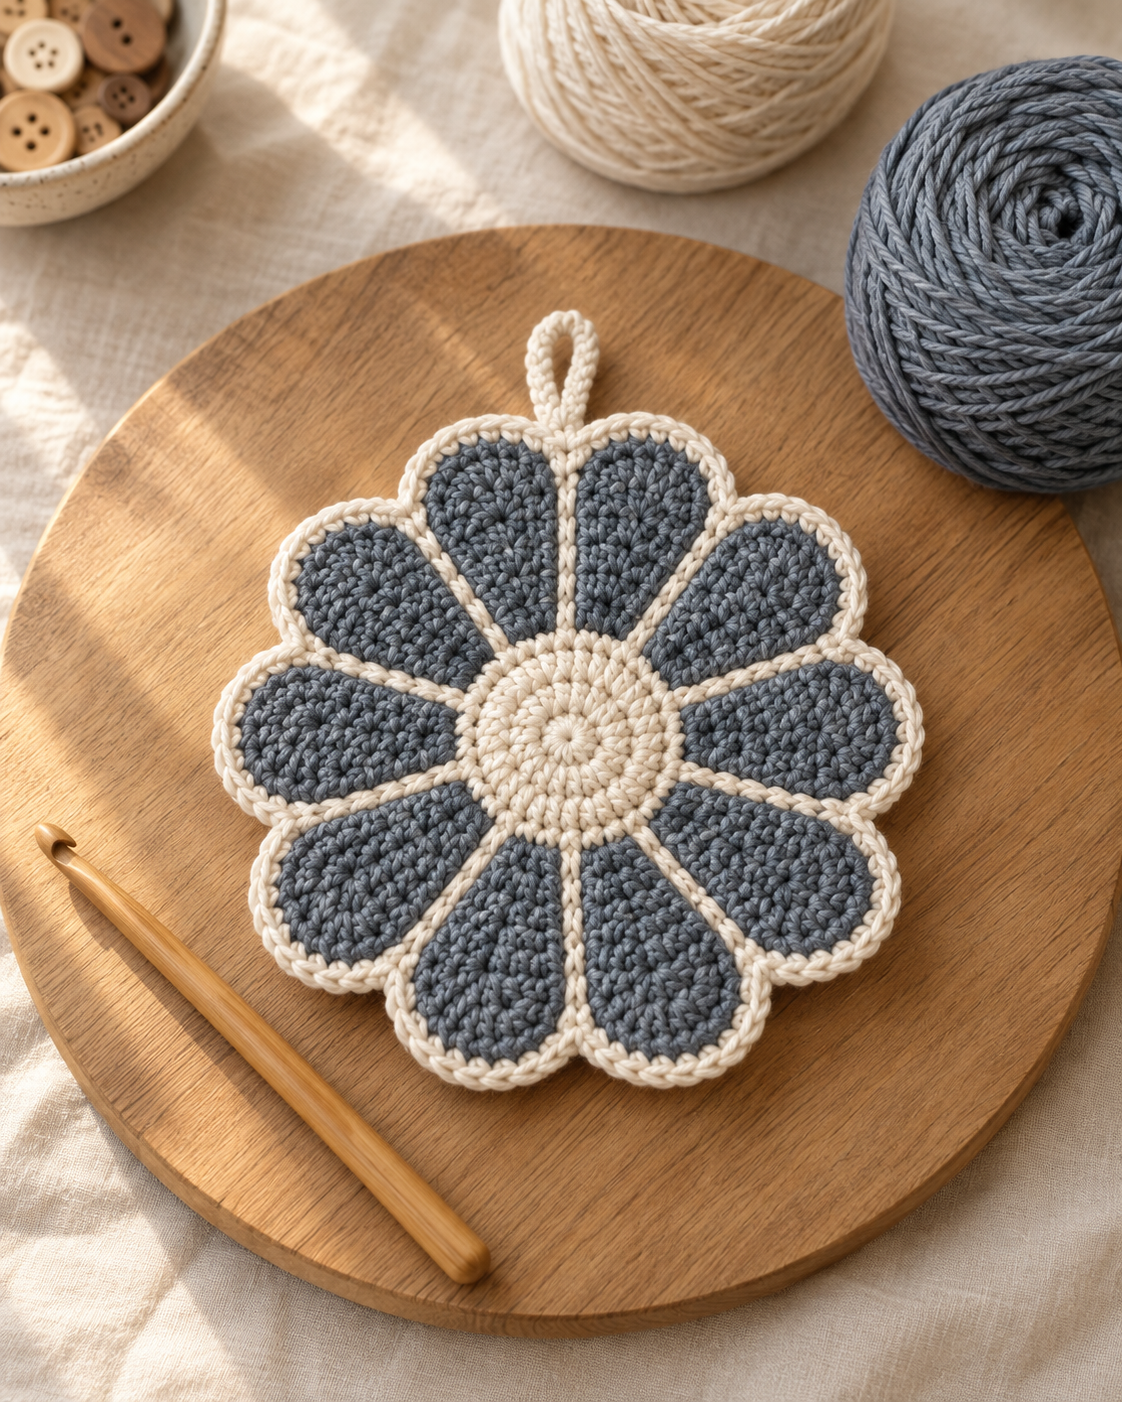
This free daisy crochet potholder uses 100% worsted cotton held double throughout, a 5.5 mm hook, and ten separate petals whipstitched around a cream center to build a hot pad that is actually thick enough to protect your hand — not just pretty enough for Pinterest. You crochet the center, crochet ten petals with a contrast trim, sew them on, then finish with a reinforced hanging loop. About 260 yards (240 m) total, 3 to 4 hours, one afternoon start to finish.
The quick answer
This is a 9-inch daisy-shaped potholder (approximately, depending on tension): a cream center circle, ten slate blue-grey petals edged in cream, whipstitched together, finished with a reinforced hanging loop. Every piece is worked with two strands of worsted cotton held together on a 5.5 mm hook — that doubled density makes the fabric substantially thicker and more suitable for brief contact with warm cookware.
The pattern uses single crochet, half double crochet, double crochet, and slip stitch. Beginner-friendly, cotton only.
Why a crocheted daisy is the right shape for a potholder
A flower-shaped potholder does something a plain square one doesn't: every petal is its own little pad of doubled fabric, so your fingers land on thick crochet no matter where you grip it. I made my first one for my own kitchen because my square potholders kept going thin exactly in the middle, right where I always grab them.
The daisy shape also just photographs better sitting on a counter than a square ever will — hence why it's one of the most-saved kitchen patterns on Pinterest every autumn, right alongside pumpkin and gourd motifs. If you've made my crochet floral wreath or the leaf trim from my maple leaf appliques, the petal construction here will feel familiar — same magic-ring center, same worked-flat petal shape, scaled up and doubled for kitchen use.
Skill level. Beginner. You need a magic ring, single crochet, half double crochet, double crochet, slip stitch, and a whipstitch seam. No shaping in the round beyond a basic flat-circle increase, and every petal is identical.
The one rule that matters more than the stitch pattern
Use 100% cotton. Never acrylic, never a cotton-acrylic blend, never wool. Acrylic yarn softens and can melt against real stovetop heat; cotton doesn't. Every published potholder pattern worth following says this, and it's the one instruction in this whole post I'd ask you not to skip.
The second rule: use two strands of the same color held together throughout each piece, center and petals both. A single strand of worsted crocheted into a flat motif is a coaster, not a potholder — it's too thin to keep heat off your palm for more than a second or two. Doubling the strand (not doubling the layers, not sewing two motifs back to back) is the trick that makes this pattern substantially thicker without any extra sewing step.
What you'll need
Yarn (worsted weight #4, 100% cotton, held double throughout — about 260 yd / 240 m total)
- Color A (petals): ~1.5 skeins (about 140 yd) of Lily Sugar'n Cream in Slate Blue or Paintbox Cotton Aran in Denim Blue.
- Color B (center + trim): ~1 skein (about 90 yd) of Lily Sugar'n Cream in Cream or Paintbox Cotton Aran in Vanilla Cream.
- Allow about 30 yd extra beyond the 230 yd of Color A + Color B for joining, whipstitching the petals on, and weaving in ends — that's where the rest of the 260 yd total goes.
- Cotton only — see above. Mercerized cotton (like Lily Sugar'n Cream) holds a denser stitch than a fuzzier cotton blend, which matters here.
Hook
- 5.5 mm (US I/9), even though this yarn weight normally calls for a smaller hook. Going up a size with the yarn held double keeps the fabric firm rather than airy — airy stitches let heat through.
Other tools
- Tapestry needle for whipstitching and weaving in ends.
- Scissors.
- Sewing pins to hold petals in place before stitching.
Abbreviations (US crochet terms)
- ch = chain
- sl st = slip stitch
- sc = single crochet
- MR = magic ring
- st(s) = stitch(es)
- Every stitch below is worked with 2 strands held together unless noted.
Finished size
- Diameter: approximately 9 in (23 cm), petal tip to petal tip, depending on tension.
- Center: approximately 3.5 in (9 cm) across.
- Petal: approximately 3 in (7.5 cm) long, 1.5 in (4 cm) wide.
The pattern — step by step
The potholder builds in four parts: the center, ten petals, assembly, and a reinforced edge with the hanging loop. Nothing here is shaped in rows — every piece is a flat motif worked in continuous rounds.
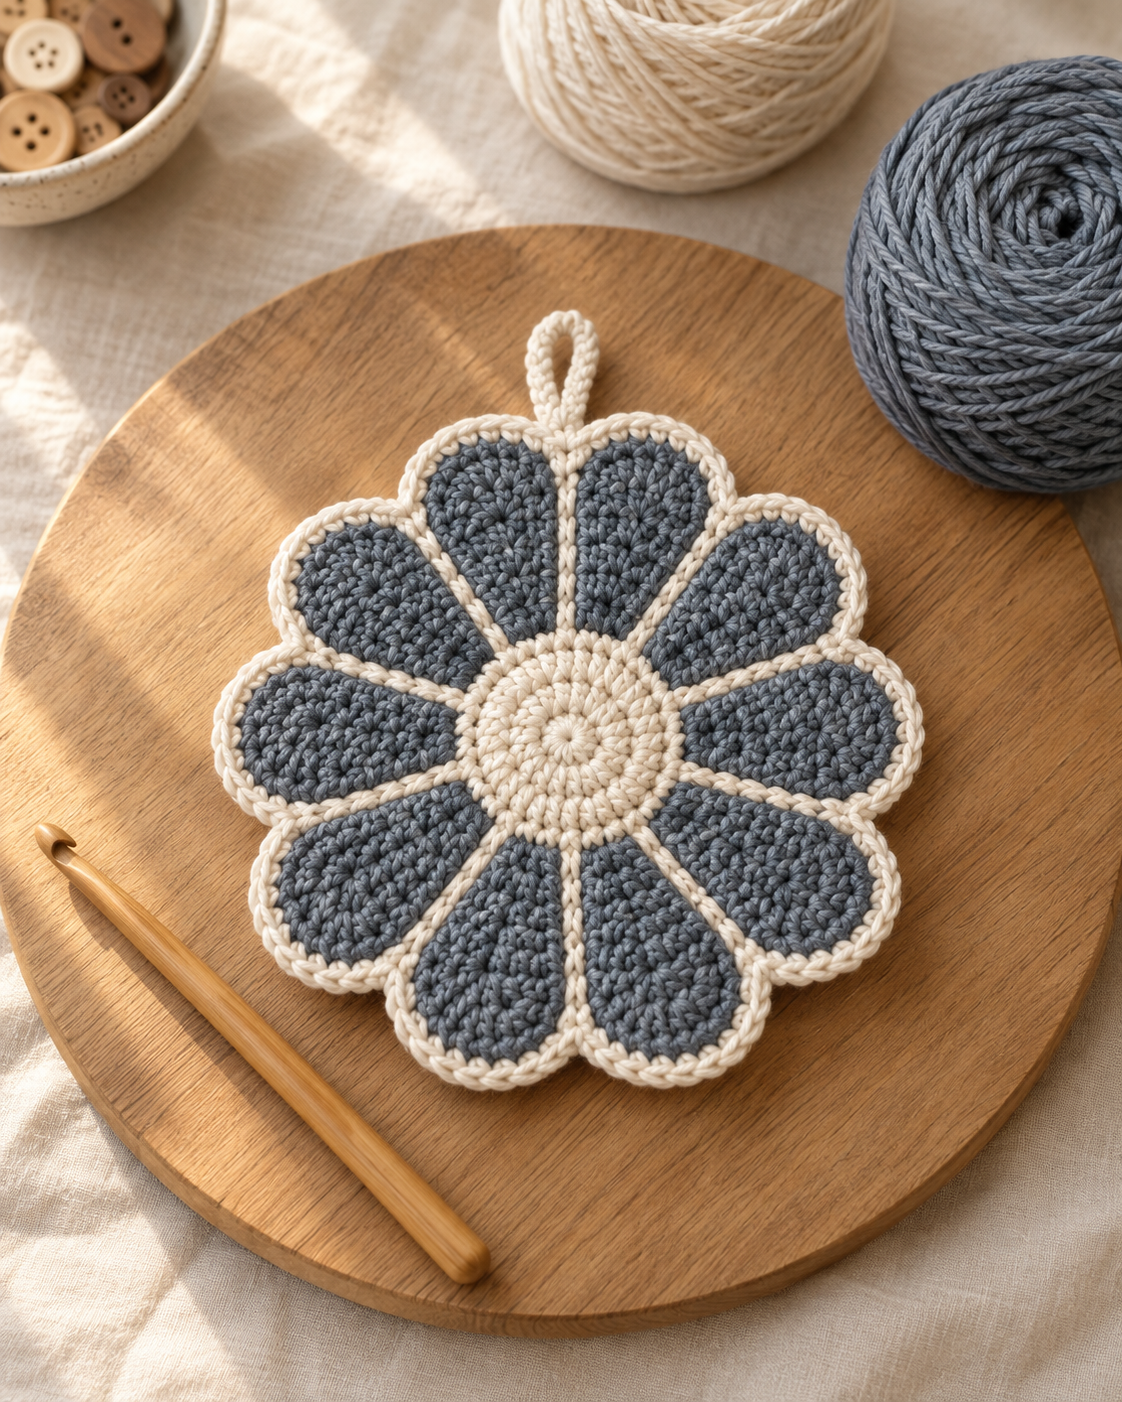
Part 1 — The center (make 1)
With Color B held double, 5.5 mm hook:
Rnd 1: Magic ring, 6 sc into ring. Sl st to first sc to close. (6 sts)
Rnd 2: Ch 1 (does not count as a st). 2 sc in each st around. Sl st to close. (12 sts)
Rnd 3: 2 sc in next st, sc in next st; repeat around. Sl st to close. (18 sts)
Rnd 4: 2 sc in next st, sc in next 2 sts; repeat around. Sl st to close. (24 sts)
Rnd 5: 2 sc in next st, sc in next 3 sts; repeat around. Sl st to close. (30 sts)
Fasten off, leaving a 12-inch tail — you'll use this to whipstitch the petals on later. Your center should lie completely flat, about 3.5 in across.
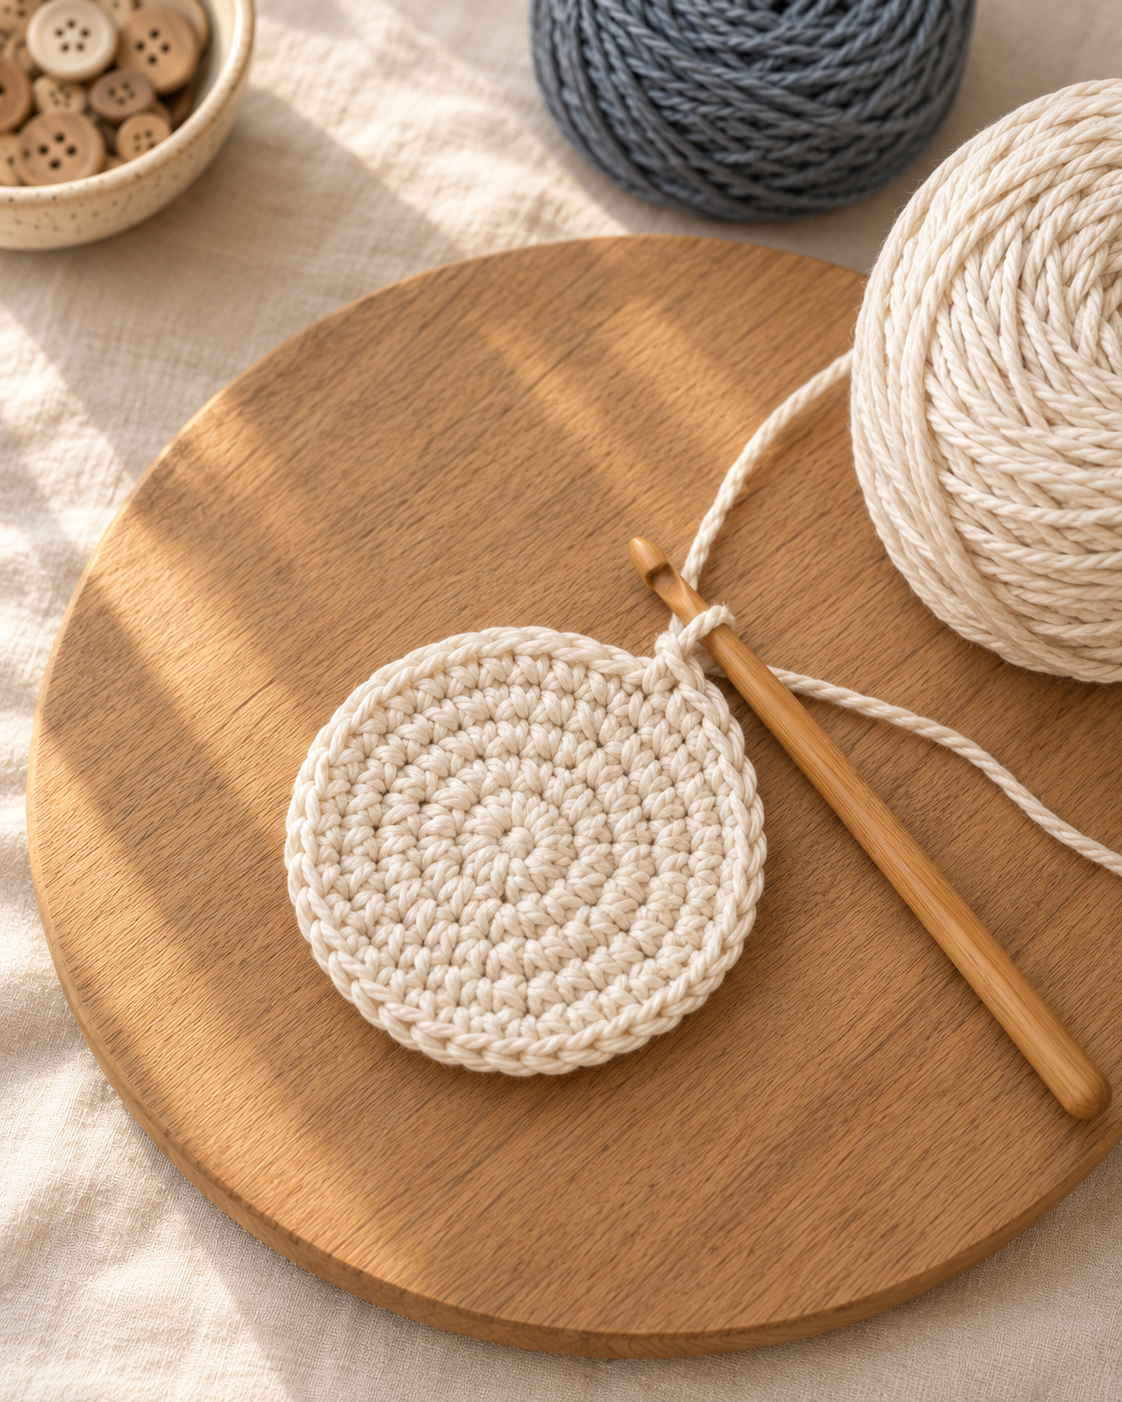
Part 2 — The petals (make 10)
With Color A held double, 5.5 mm hook:
Rnd 1: Ch 10. Starting in the 2nd ch from hook: sc in next 2 ch, hdc in next 2 ch, dc in next 3 ch, 3 dc in the last ch (this turns the rounded tip). Rotating to work down the other side of the same foundation chain: dc in next 3 ch, hdc in next 2 ch, sc in next 2 ch, sl st in the same st as your first sc to close.
Rnd 2 (trim, change to Color B held double): Ch 1, sc in each st around, working 3 sc in the center tip stitch and 2 sc in the base stitch so the trim doesn't cup or pucker. Sl st to close.
Fasten off, leaving an 8-inch tail for sewing. Repeat 9 more times — 10 petals total.
My finding: The first batch I made, I skipped the extra stitches at the tip and base of the trim round. Every petal curled instead of lying flat. Those two or three extra stitches at the narrow points are what let the cream trim spread out over the wider slate fabric underneath — don't skip them.
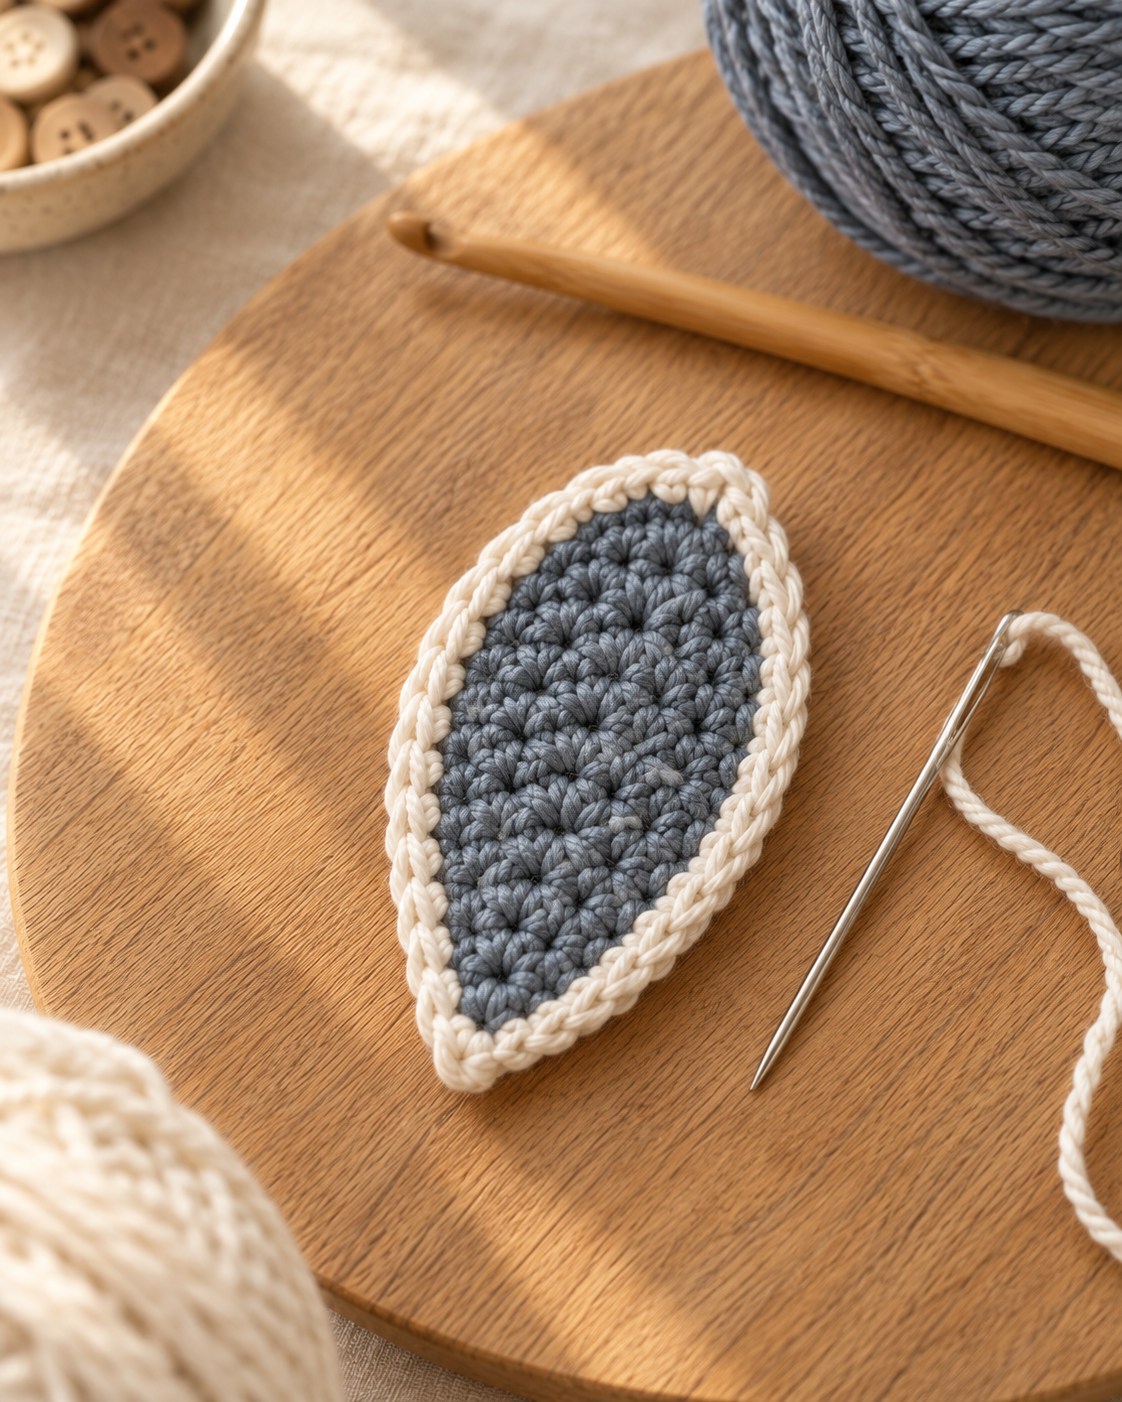
Part 3 — Assembly
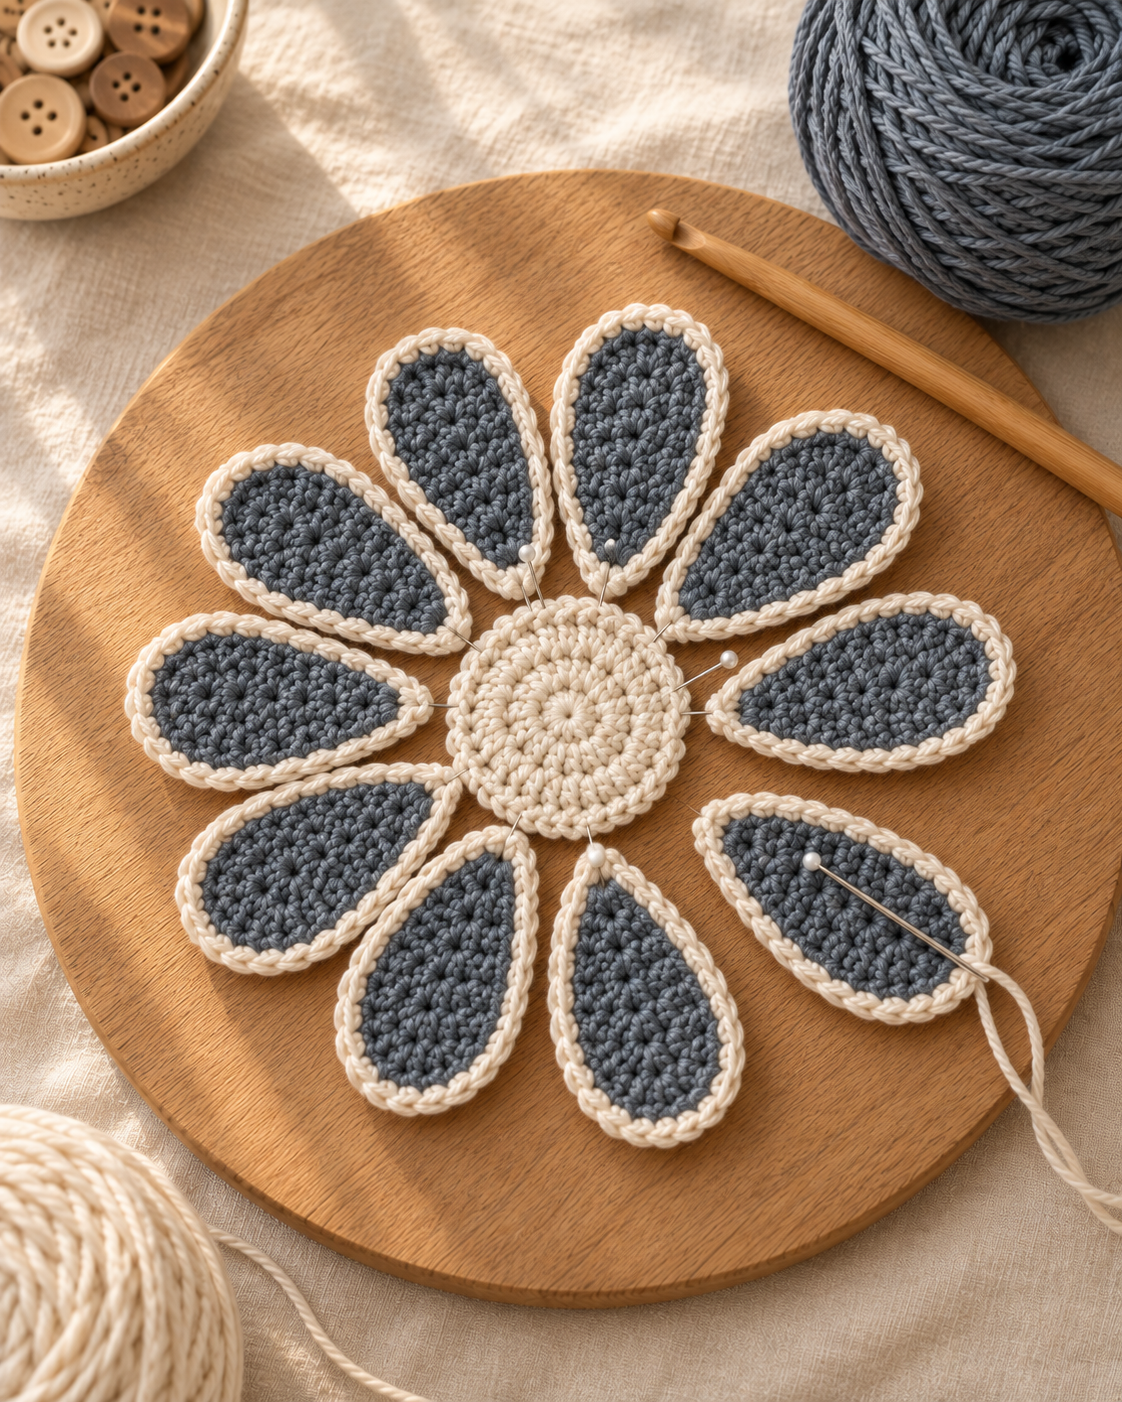
Lay the center right side up. Arrange the ten petals evenly around the outer edge, base end toward the center. With 30 stitches around the center and 10 petals, that's about 3 center stitches per petal base — count them off as you pin so the spacing stays even all the way around.
Overlap each petal base very slightly onto the one beside it so no cream center peeks through between petals. Wide, well-separated petals are the look you're after here — resist the urge to crowd in extras. Using each petal's own 8-inch tail and a tapestry needle, whipstitch the base of every petal to the outer round of the center, going through both layers for a secure hold.
Part 4 — The edge and the hanging loop
This last round is what keeps everything locked together for years of actual kitchen use, not just for a photo.
With Color B held double, join with a sl st into any petal-base stitch along the back of the potholder. Work a round of sc through both the petal bases and the center's outer round together, going all the way around to lock every petal seam from behind.
When you reach your starting point, do not fasten off. Chain 15 for the hanging loop, then work 1 sc into each of those 15 chains going back toward the potholder — this doubles the loop with a row of single crochet instead of leaving it as a bare chain. A bare chain stretches under the repeated weight of hanging and unhooking; a single-crocheted loop doesn't. Sl st into the starting point to secure. Fasten off and weave in every remaining tail.
How hot can this potholder actually handle?
Honestly: treat it the same as any handmade cotton potholder, not like a silicone oven mitt. Doubled cotton crochet is genuinely good for quick, direct contact — lifting a warm pan handle, pulling a baking sheet's edge, handling a mug straight from the microwave. It is not rated for prolonged contact with cast iron straight out of a 450°F oven or for touching an open flame or a stovetop burner directly. No crocheted textile is, cotton or otherwise. If you need that level of protection, use a silicone-backed mitt underneath.
Check your potholder every few months the way you'd check any kitchen textile: if the stitches have thinned or a seam has come loose, retire it or mend it before it goes back near the stove.
Make it yours — quick variations
| Variation | Change from base pattern |
|---|---|
| Sunflower | Mustard yellow petals, burgundy-brown center instead of cream trim/cream center. |
| Poppy | Brick red petals, near-black center. Bold, kitchen-statement colorway. |
| Rust autumn | Terracotta petals, cream trim and center — pairs with my maple leaf appliques. |
| Two-color hydrangea | Dusty blue petals, cream trim, cream center — the closest match to a real daisy. |
| Gift pair | Make two in swapped colorways (petals and trim reversed) for a hostess set. Same 3–4 hour build, times two. |
Troubleshooting the three things that go wrong
The petals won't lie flat against the center
You're pulling the whipstitch too tight. Sew snug enough to hold, not tight enough to pucker the petal base. If a petal still domes up, it usually just needs one more stitch at the base to anchor it flush.
The hanging loop is stretching out
You chained the loop and fastened off without the reinforcing single crochet row. Go back and work a round of sc into the bare chain — it's a two-minute fix and it's the difference between a loop that lasts a year and one that lasts a week.
The potholder feels thin in spots
You crocheted with a single strand instead of two held together somewhere along the way. Check your project bag — it's an easy strand to drop without noticing, especially right after a color change.
Frequently asked questions
How long does the daisy crochet potholder take to make? About 3 to 4 hours for a confident beginner — 30 minutes for the center, roughly 1.5 to 2 hours for ten petals (10 minutes each once you find your rhythm), 45 minutes to pin and sew the assembly, and 15 minutes for the edge and hanging loop.
What is the best yarn for a crochet potholder? 100% worsted cotton (CYC weight #4), held double throughout. Lily Sugar'n Cream and Paintbox Cotton Aran both work well and machine-wash cleanly. Skip acrylic and wool entirely — acrylic can soften near real heat, and wool holds moisture against your hand instead of insulating it.
Can I wash this potholder? Yes. Machine-wash cold on a gentle cycle and lay flat to dry — cotton can shrink slightly in a hot dryer, which is fine for a potholder (it just gets a touch denser) but will throw off the shape if you're making a matching set.
Can I sell finished potholders made from this pattern? Yes — you're welcome to sell physical potholders made from this free pattern at craft fairs, Etsy, or as gifts. Please credit "Pattern by Wavode" on your listing and link back to this page. What you can't do is republish this write-up or my photos as your own pattern.
Can I make this potholder smaller, as a coaster? Yes. Stop the center at Rnd 3 (18 sts) instead of Rnd 5, use 6 petals instead of 10, and shorten the hanging loop to chain 6 or skip it. You'll get a roughly 5-inch flower coaster from the same technique — though for anything sitting directly under a hot mug, keep the double-strand rule, not just the shape.
Related patterns on Wavode
- Crochet floral wreath — spring pastel flower door pattern — the same magic-ring flower technique, scaled up for a door decoration.
- Crochet hanging basket — boho wall storage pattern — another kitchen-adjacent make with the same cotton-only rule.
- Crochet mini rose — if you want a flower motif that finishes in fifteen minutes instead of an afternoon.
Made this potholder? Tag #wavodecrochet on Pinterest — I re-pin every finished make and credit the maker.
Pattern by Clara Hartwell for Wavode. Questions? Email me at support@wavode.com.